

Have you ever wondered what secrets and challenges lie within the haunted halls of Scholomance?
As you steel yourself for the dark corridors and sinister magic that await, remember that knowledge is your greatest ally.
Navigating Scholomance’s complex layout requires more than just brute force; it demands a keen understanding of the dungeon’s insidious inhabitants and their abilities.
You’ll need to know the intricacies of each boss encounter and how to counter their deadliest attacks.
With the right group synergy and a solid grasp of the rare drops and loot table, you stand a chance of emerging victorious.
So, if you’re ready to conquer one of WoW Classic’s most notorious dungeons, prepare to unlock the strategies that can lead to your success—or ignore them at your own peril.
Preparing for Scholomance
Before you set foot in the haunting halls of Scholomance, make sure you’re well-prepared with the right gear, consumables, and knowledge of the dungeon’s mechanics. You’ll need a Skeleton Key to unlock the entrance, and crafting one is no simple feat. To obtain it, you must complete a series of rigorous quests provided by the Argent Dawn. This revered organization holds the key, quite literally, to accessing the depths of Scholomance.

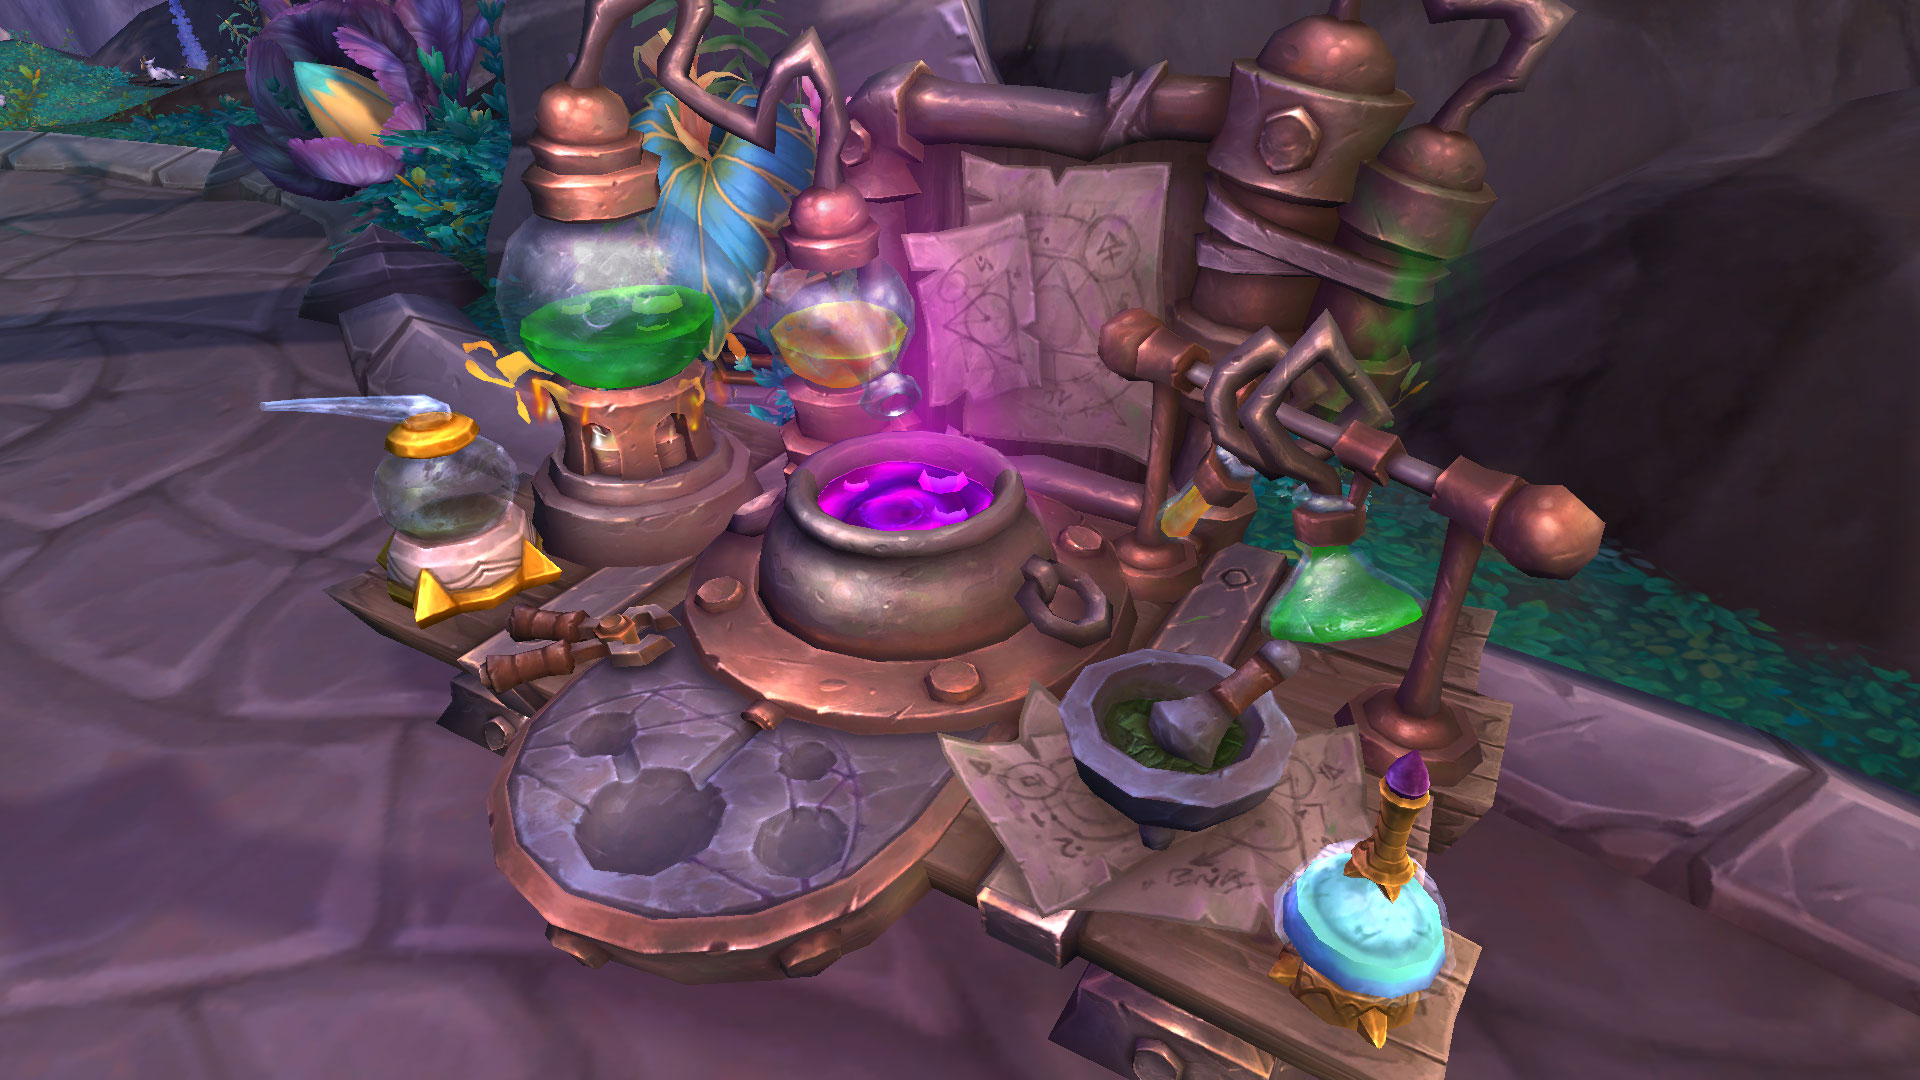
As you approach the entrance bridge, remember that the enemies within aren’t to be underestimated. Ensure you’ve got potions, bandages, and food in your bags—your survival might depend on it. If you’re an alchemist, you’ll find the Alchemy Lab inside particularly useful for crafting powerful flasks that can give you the edge in combat.
Furthermore, don’t overlook class quests that are specific to Scholomance. These can offer rewards that significantly bolster your abilities within this cursed academy. With every step across the aged stone of the entrance bridge, you’re committing to a challenge that requires your utmost attention and preparation. So gear up, gather your allies, and steel yourself for the trials ahead.
Dungeon Layout and Navigation
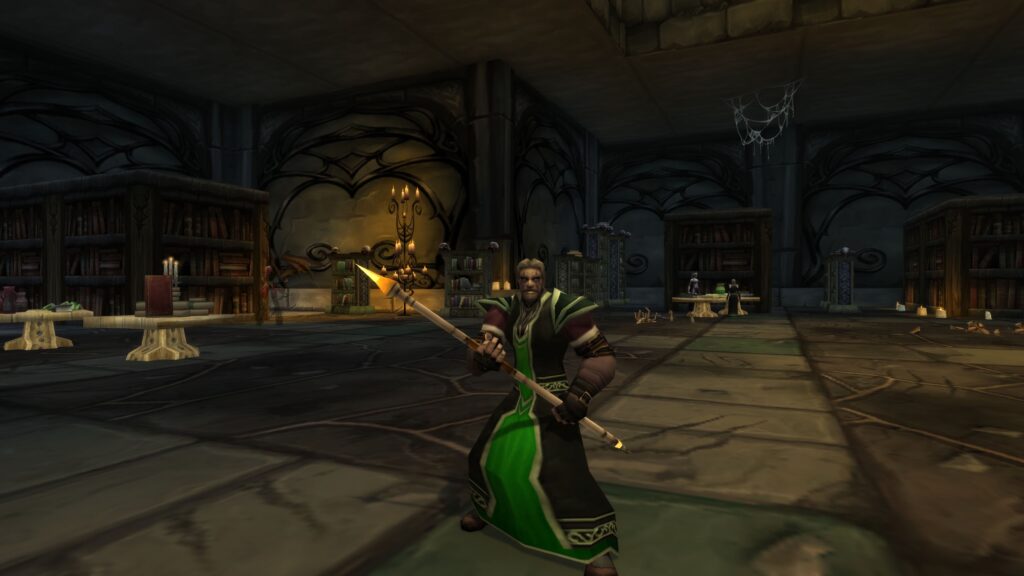
Navigating Scholomance’s labyrinthine corridors requires a keen sense of direction and awareness of its many hidden dangers. You’ll face numerous undead enemies, each lurking in the shadowy recesses of this forsaken school of necromancy. As you delve deeper, keep an eye on the dungeon guide to avoid getting lost in the twisted passageways.
Your ultimate goal in this macabre academy is to confront Darkmaster Gandling, the headmaster of horrors who holds the key to the most sought-after loot, including the coveted Necropile Raiment. To get there, you’ll traverse rooms filled with the reanimated and spectral academics, each with their own challenges.

Be sure to study the loot table before your adventure so you know which bosses drop the gear you’re after. Remember, the layout of Scholomance isn’t just a simple series of rooms; it’s a complex network of halls, chambers, and crypts. You’ll need to unlock doors, find hidden switches, and sometimes backtrack to advance.
Keep your party close, manage your resources wisely, and stay alert. With each step, you’re not just navigating a dungeon, you’re unraveling the mysteries of one of the most intricate and treacherous instances in WoW Classic.
Boss Encounters and Strategies
As you prepare to confront Scholomance’s nefarious bosses, it’s crucial to understand each one’s unique tactics and abilities for a successful takedown. One of the key figures you’ll face is Alexi Barov, a formidable adversary who demands a well-coordinated team. He’s known for dealing hefty melee damage, so it’s vital to keep him away from your group’s more vulnerable members. Have your tank engage him directly while healers maintain a steady flow of heals.
During the encounter, be on the lookout for Broodling Essence. This valuable drop isn’t only part of a quest but can also turn the tides if used strategically. Be sure to collect it when it appears.
Certain bosses might attempt to overwhelm you with frost spells. Having resistance to this element can be a game-changer, so consider equipping gear that provides frost resistance or using potions that mitigate this type of damage.
Lastly, beware of enemies wielding arcane missiles. These relentless casters can be a nuisance for unprepared parties. Interrupt their casting whenever possible, and focus on taking them down quickly to minimize the incoming damage to your group.
Rare Drops and Loot Table
Venturing into the depths of Scholomance, you’ll find that certain bosses drop coveted items, each with a chance to enhance your character’s power significantly. Whether you’re part of the Alliance or the Horde, these rare drops are a universal draw, fueling the competition to conquer this dungeon’s challenges.
As you face each boss, remember that what might seem like a simple fight can yield some of the most sought-after gear. For example, Ras Frostwhisper, the lich who commands the final chamber, drops the highly prized Magister’s Boots, a must-have for any aspiring caster. Every boss here has its loot table, packed with rare drops that can give your character the edge in both PvE and PvP battles.
Keep an eye out for the specific class sets too. Scholomance is one of the few places where you can complete these collections, which provide not only a significant stat boost but also a distinctive look that’ll set you apart from the crowd. So, strap on your gear, sharpen your weapons, and get ready to claim your share of the rare treasures that lie within Scholomance’s haunted halls.
Tips for Group Synergy
To master Scholomance’s harrowing challenges, your group must synergize effectively, capitalizing on each member’s strengths and roles. Communication is key; make sure you’re all on the same page with tactics and call-outs. If you’re the tank, your job is to control the mobs and keep them away from your healers and damage dealers. Healers, stay alert and prioritize your spells; keep the tank alive while managing the group’s overall health. DPS, you’ve got to focus fire and eliminate threats according to the strategy—no rogue goes off doing their own thing.

Manage your cooldowns and know when to use your group buffs and crowd control abilities. A well-timed Polymorph or Fear can turn the tide of a battle, but used recklessly, you could end up with more enemies than you can handle. If someone’s crowd-controlling, don’t break it with an errant AoE or multi-target ability.
Lastly, adaptability is crucial. Scholomance is unpredictable, and things won’t always go according to plan. Be ready to switch targets, save a teammate, or kite an enemy if the situation calls for it. With solid teamwork, you’ll conquer the undead and claim your rewards.
Conclusion
You’ve mastered the eerie halls and cryptic puzzles of Scholomance. With each boss conquered, you’ve grown stronger, your bags heavier with spoils.
But don’t get too comfortable just yet; the ultimate challenge lurks in the shadows, waiting. Will you and your allies rise to the occasion, or will the dark secrets of this accursed place claim you?
Gear up, sharpen your skills, and prepare for the final showdown. The true test of Scholomance awaits.
I have more interesting articles on my blog.
Leave a Reply